Deploy A Web Server In Azure
·The infrastructure as code gives us a huge advantage in defining, deploying, updating and destroying our infrastructure. So to set up an image which contains our application for repeatable deployments, we will use packer to create the virtual machine images(in JSON format).
Terraform also expands on this by not only deploying virtual machines but also storage, networking and security entities across multiple infrastructures, clouds and vendors.
Based on these, this project will use a Packer template and a Terraform template to deploy a customizable, scalable web server in Azure.
Getting Started
- Clone this repository
- Create your infrastructure as code
- Create your tagging-policy in Azure
- Create your resource group in Azure
Dependencies
- Create an Azure Account
- Install the Azure command line interface
- Install Packer
- Install Terraform
Instructions
Once you’ve collected your dependencies, to deploy the scalable web server in Azure we need:
- Deploy the packer image
- Deploy the infrastructure with Terraform template
 Deploy the Packer Image
Packer is a server templating software. It will deploy virtual machines images. After deploying the virtual machines with the help of packer template, make sure to delete the packer images as it does not maintain the state.
 Config Environment Variables
Go to the terminal and export the environment variables like below.
export ARM_CLIENT_ID=4685768f-1912-4c9a-8226-b670918xxxxfakeclientid
export ARM_CLIENT_SECRET=6GNB5c5p_5H.-odi_zffakesecret
export ARM_SUBSCRIPTION_ID=59ce2236-a139-4c5fakesubsribtionid
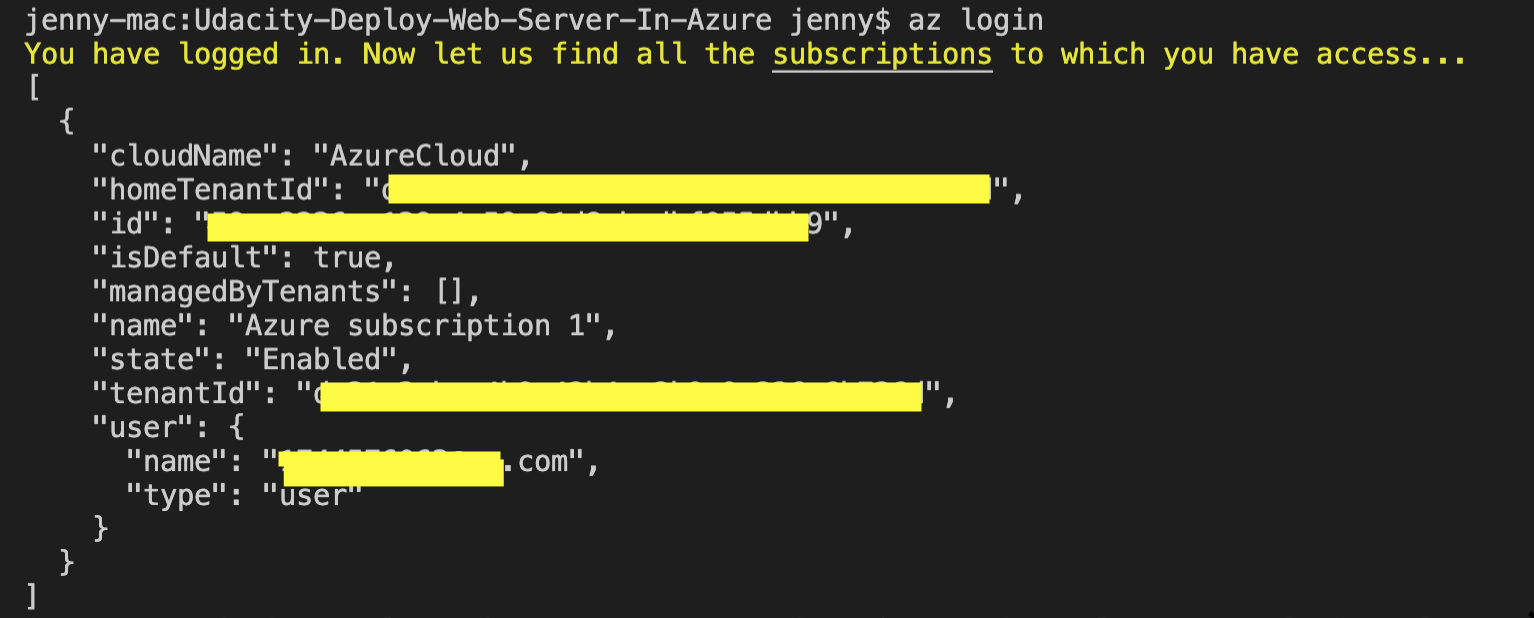
 Get Subscription ID
- Login into your azure account
- Search and click “Subscriptions”
- Select whichever subscriptions are needed
- Click on the overview
- Copy the Subscription Id
Get Client ID
- Login into your azure account
- Search and click “Azure Active Directory”
- Click “App registrations” under the Manage tab
- Click the application that you own
- Copy the client ID
Get Client Secret
- Login into your azure account
- Search and click “Azure Active Directory”
- Click “App registrations” under the Manage tab
- Click the application that you own
- Click the “Certificates & Secrets” under the Manage tab
- Create a client secret as you need.
Once you have exported and config the environment variable, use printenv to check whether they are configured properly.
printenv
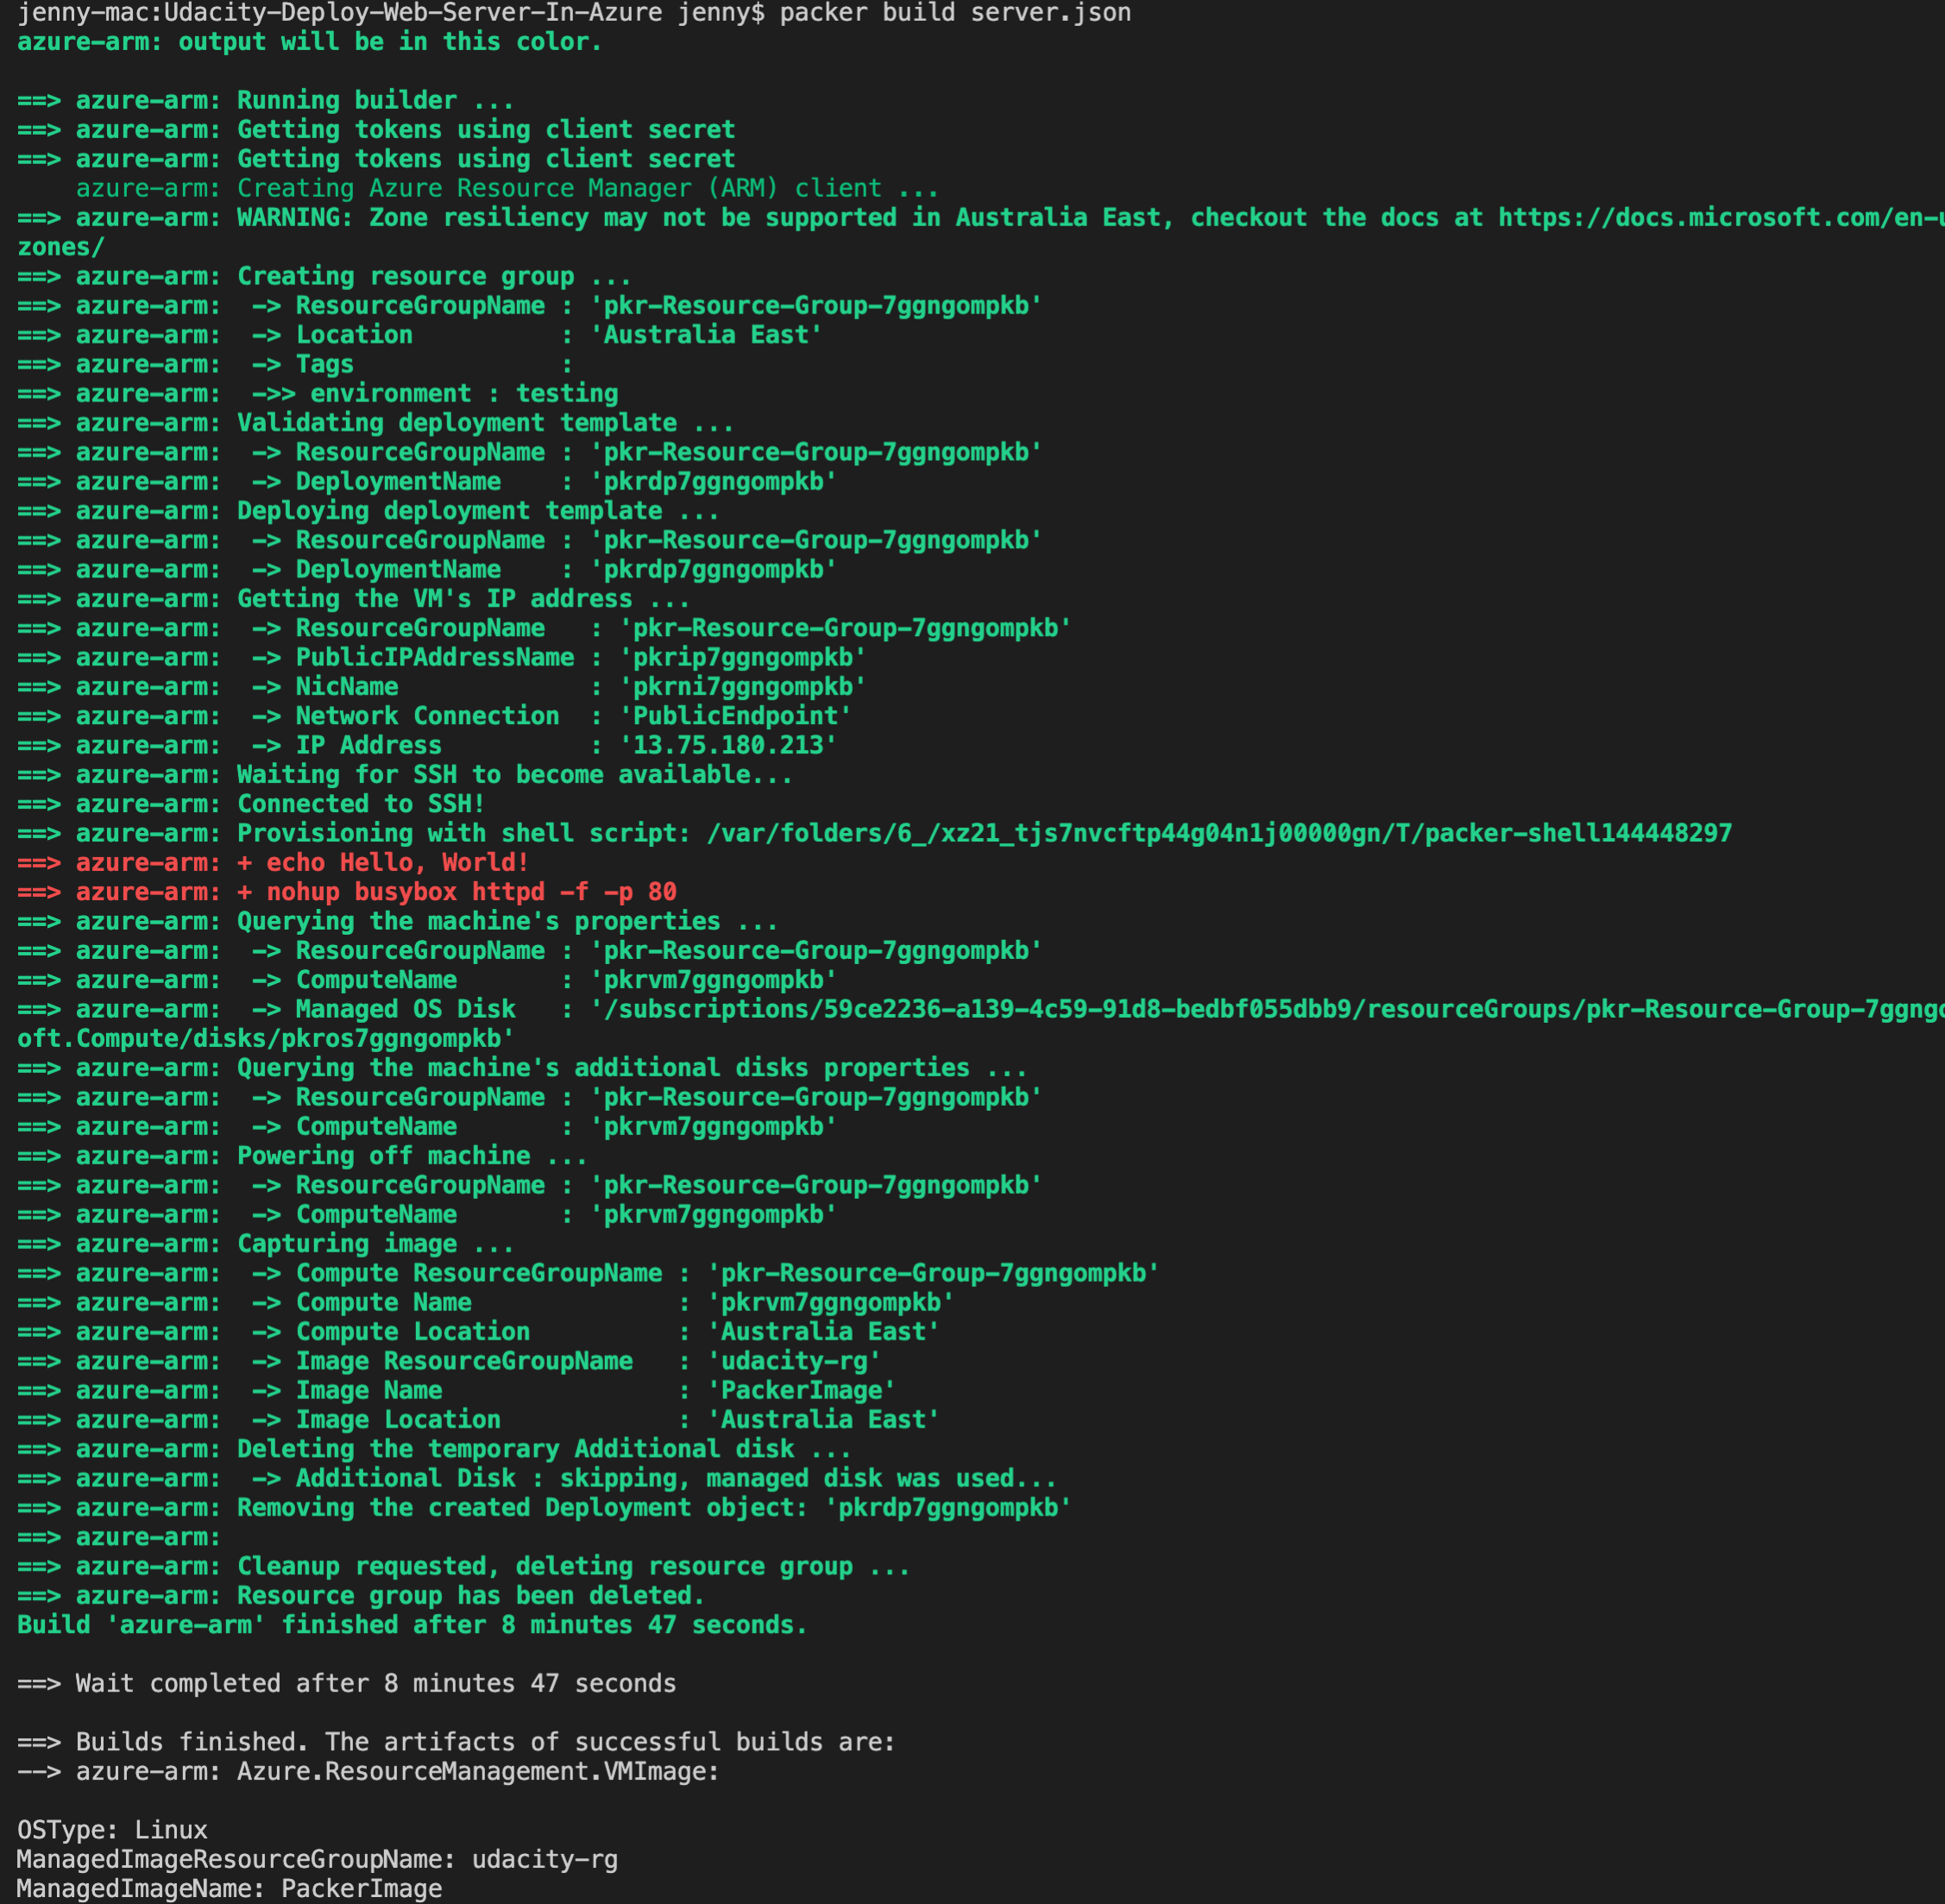
Deploy the Packer Image
Run the following command to deploy the packer image.
packer build server.json
Create and Update Azure Resouces with Terraform Template
Specify the Variables
To use variables for your main.tf, you can specify your variables like below in your vars.tf file.
variable "environment"{
  description = "The environment should be used for all resources in this example"
  default = "test"
}
And in your main.tf, you can call the variables like
var.environment
Deploy the Infrastructure Using Terraform
Now we come to deploy the resources using the Terraform template. One thing worth mentioning is that we have already created the resources group for our PackerImage, so we can’t deploy the resource group with the same name. Instead, we need to import the existing resource group and then it will know which resource group to deploy. The similar command will be like:
terraform import azurerm_resource_group.main /subscriptions/{subsriptionId}/resourceGroups/{resourceGroupName}
In main.tf: The az availability set, platform_fault_domain_count = 2 has default value 5, so we need to specify it to 2. Run the following commands to deploy the infrastructure.
az login
Remember to copy the tenant id and export it to the environment like the last step. Then run the following to deploy the terraform template.
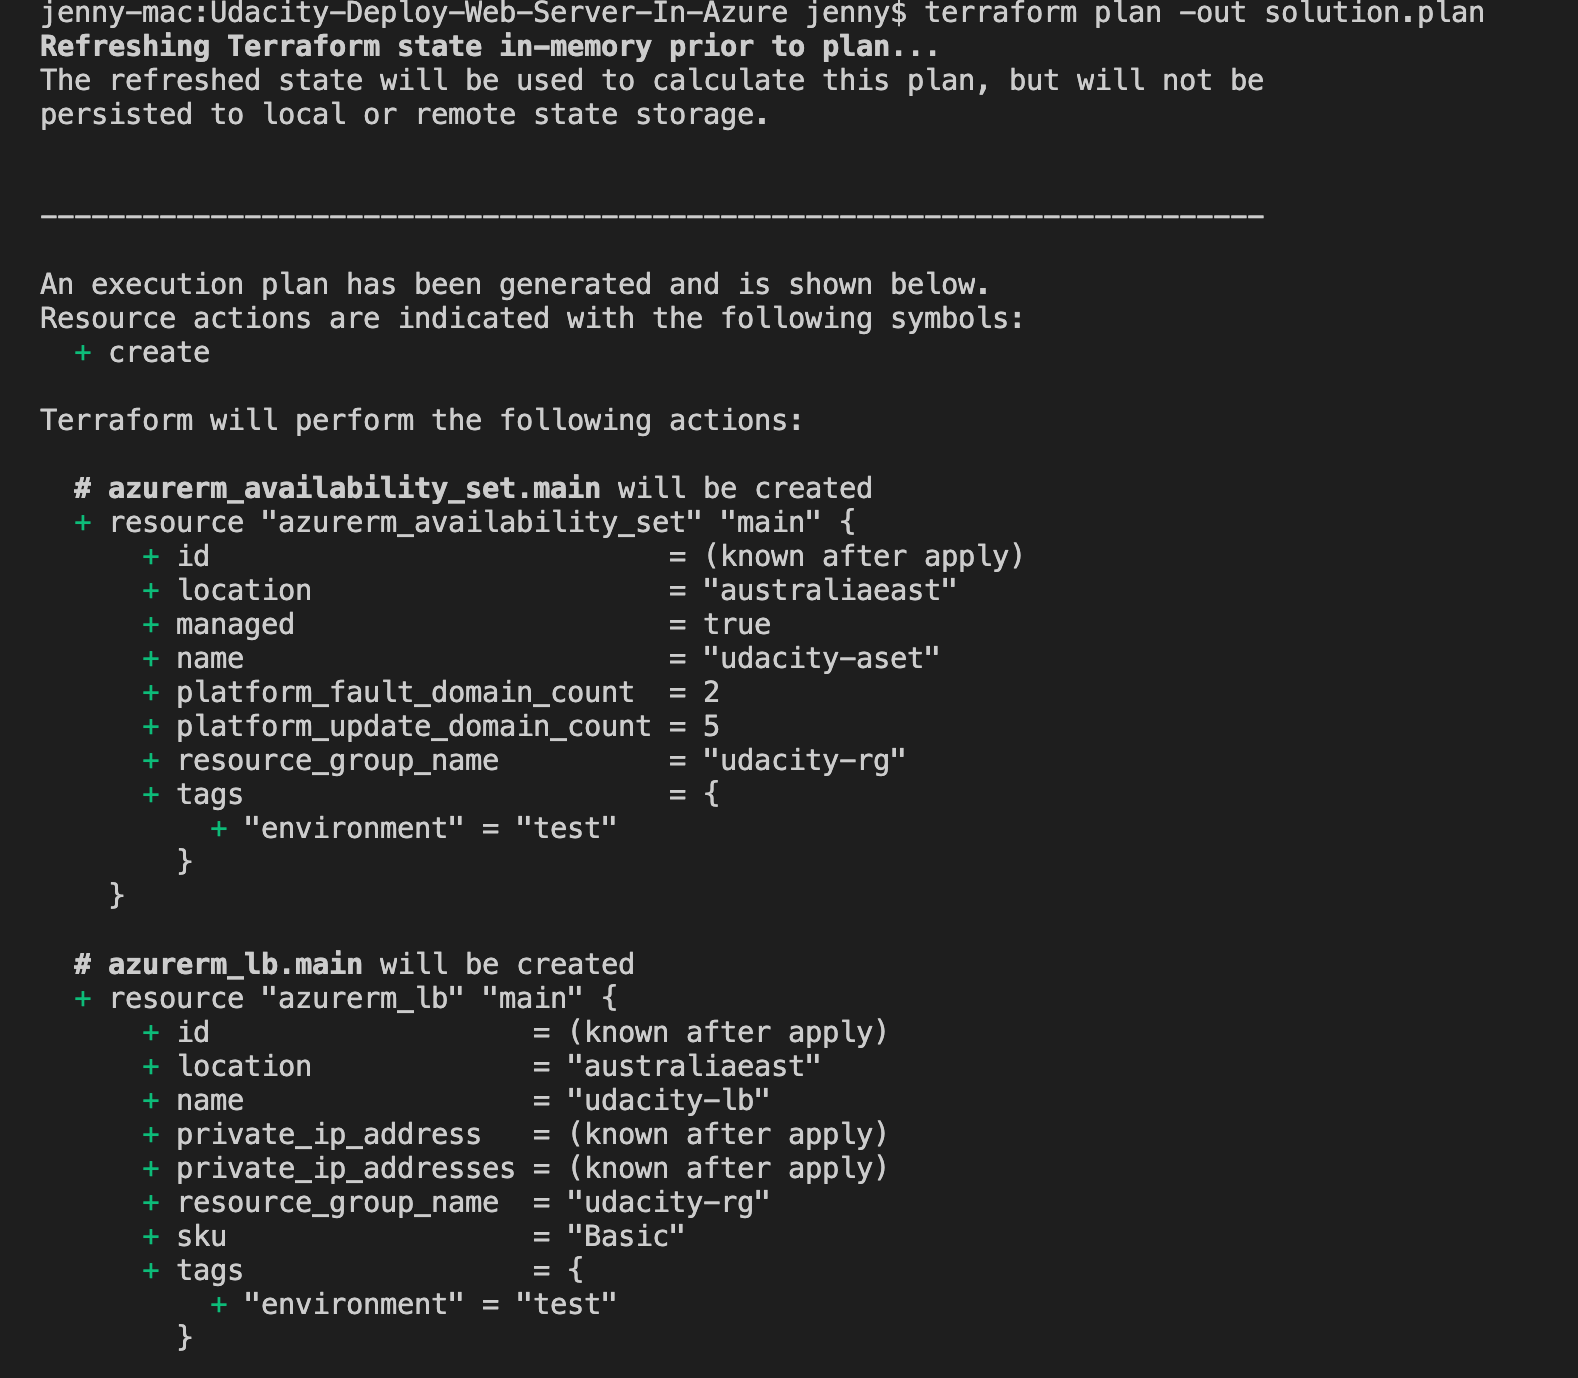
terraform plan -out solution.plan
terraform apply
Once you have deployed the infrastructure. You can go to the Azure portal to check the resources. Once you have finished, remember to destroy these resources.
terraform destroy
Output
If you succeeded in deploying the resources, it will looks like below
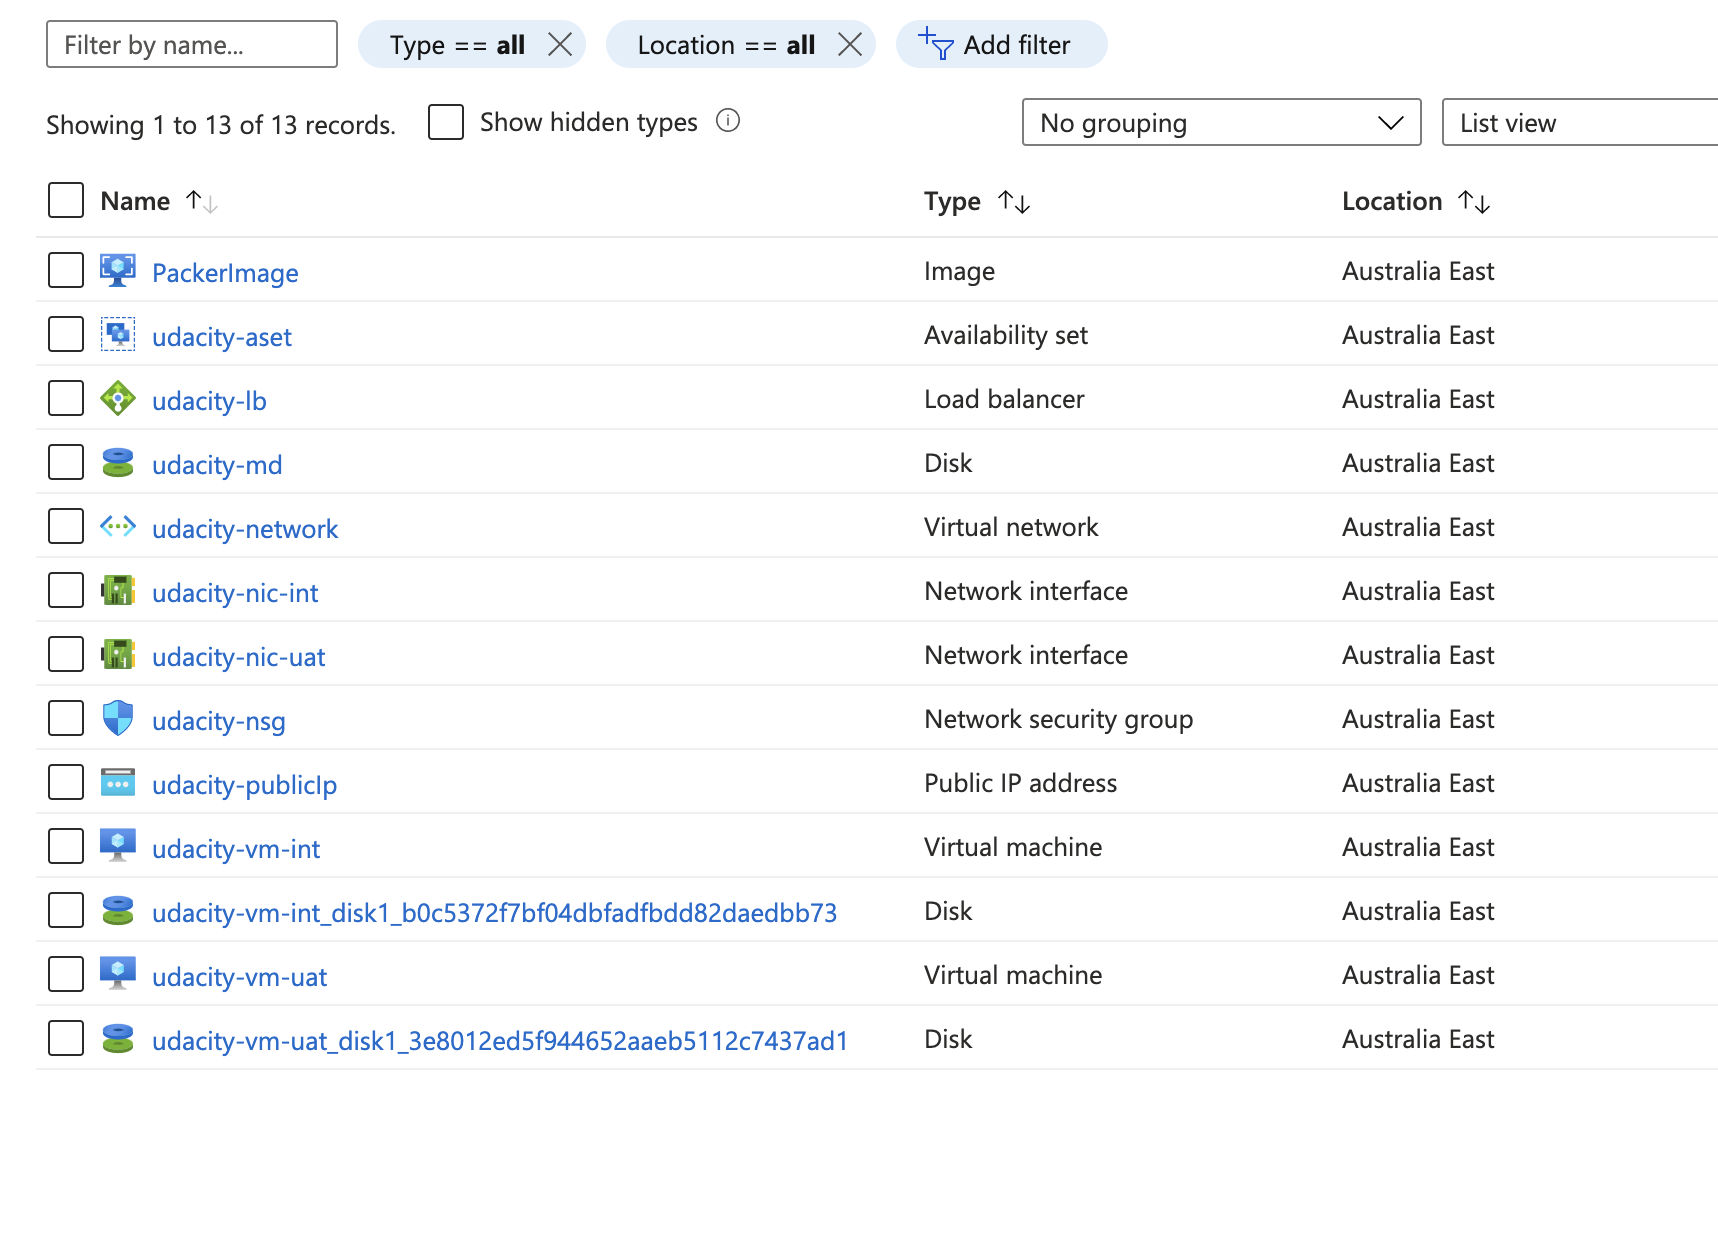
You can also check whether these resources are deployed by looking at the Azure portal. The results will look like this.
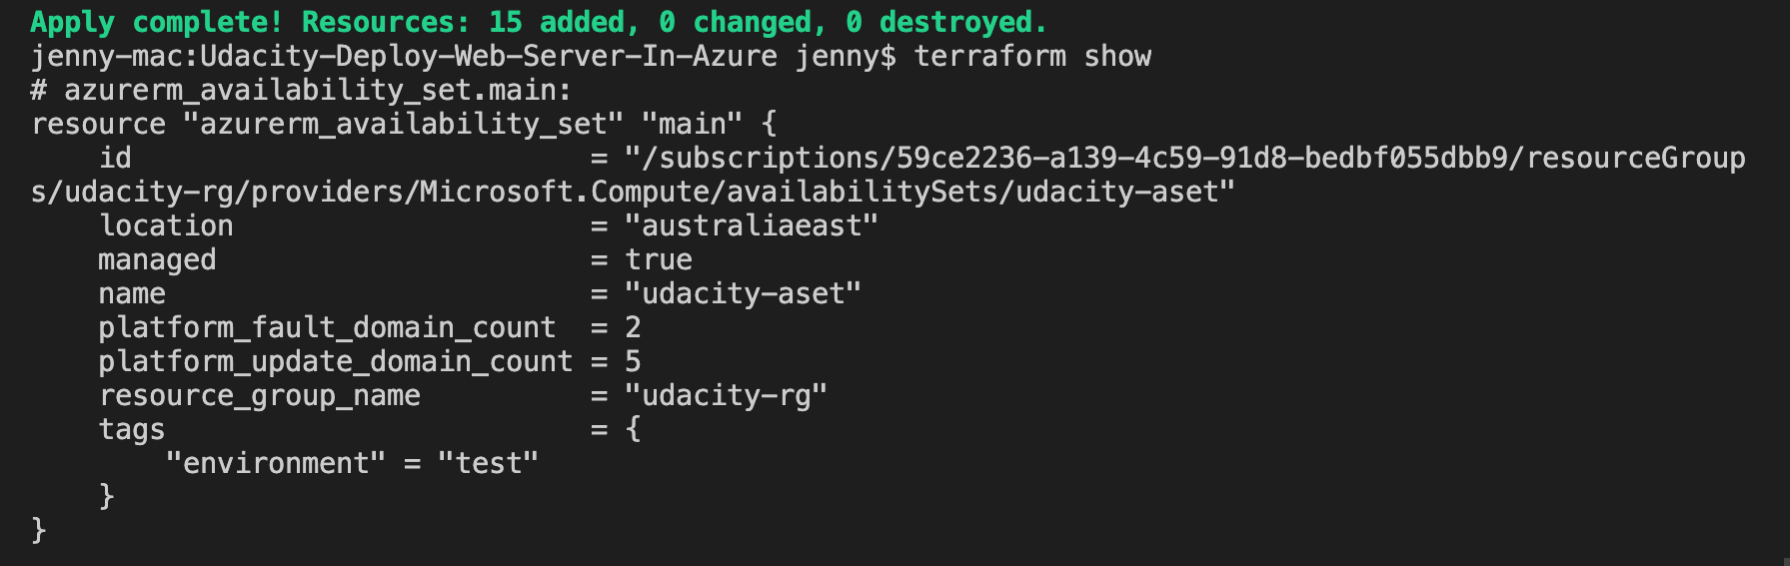
In the terminal, type terraform show to check the resources
terraform show
After the deployment, remember to destroy the resources.
terraform destroy